
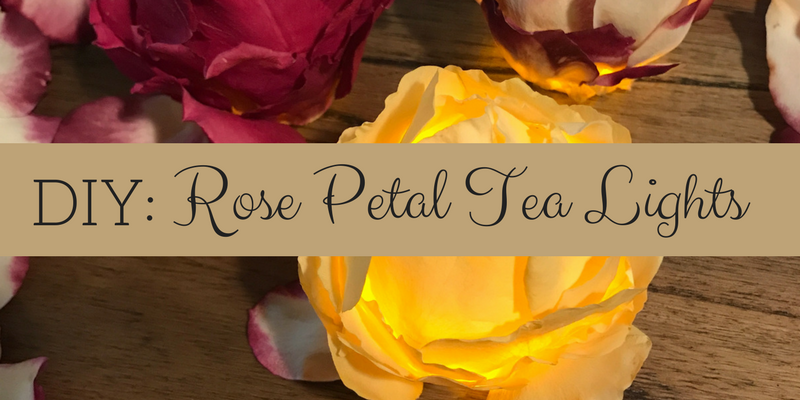
DIY: Rose Petal Tea Lights
DIY: Rose Petal Tea Lights
If we look at storybook spreads all throughout literature and film, media generally seems to speculate that certain stylish actions define romance. In fact, it’s downright formulaic.
CANDLE X + ROSE Y = SUDDEN ROMANCE
While, normally, I’d question this equational simplicity, but there’s something special about this combination that makes them seem more like destined partners, rather than something capitalizing on tradition. Flickering candlelight lights up dim rooms with dramatic shadows and makes faces seem soft, tender, and welcomingly warm in the darkness. These shimmers of light make the rich, vibrant colors of roses seem surreal, almost otherworldly in their depth and beauty. The roses themselves offer a sense of lively compassion from one person to another; by offering a lover a rose, you symbolically offer them love and passion to light up the dark.
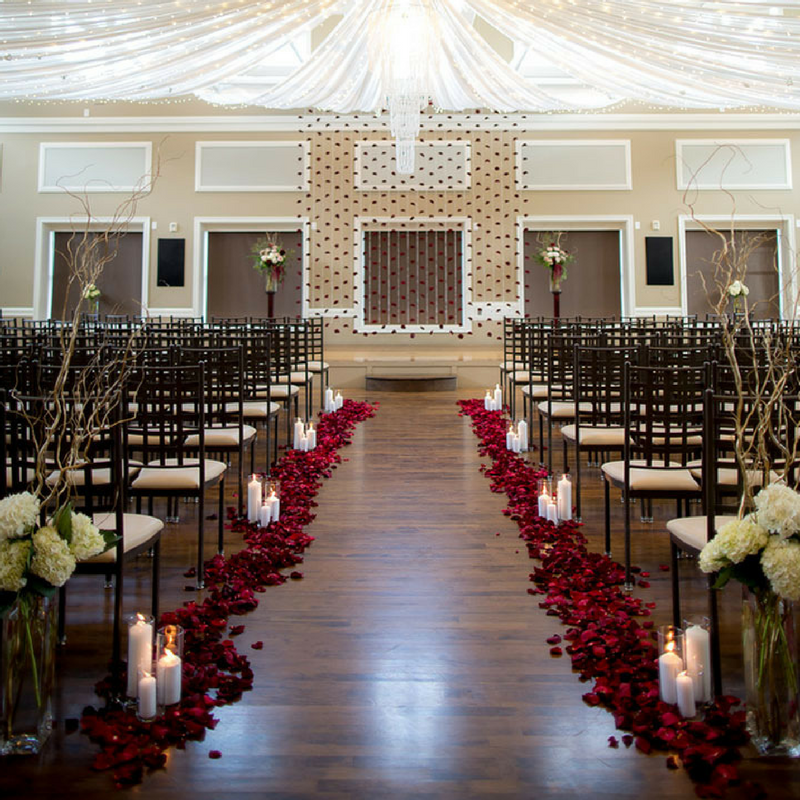
Candles and red rose petals down the aisle Image Credits: Mon Cheri Bridals
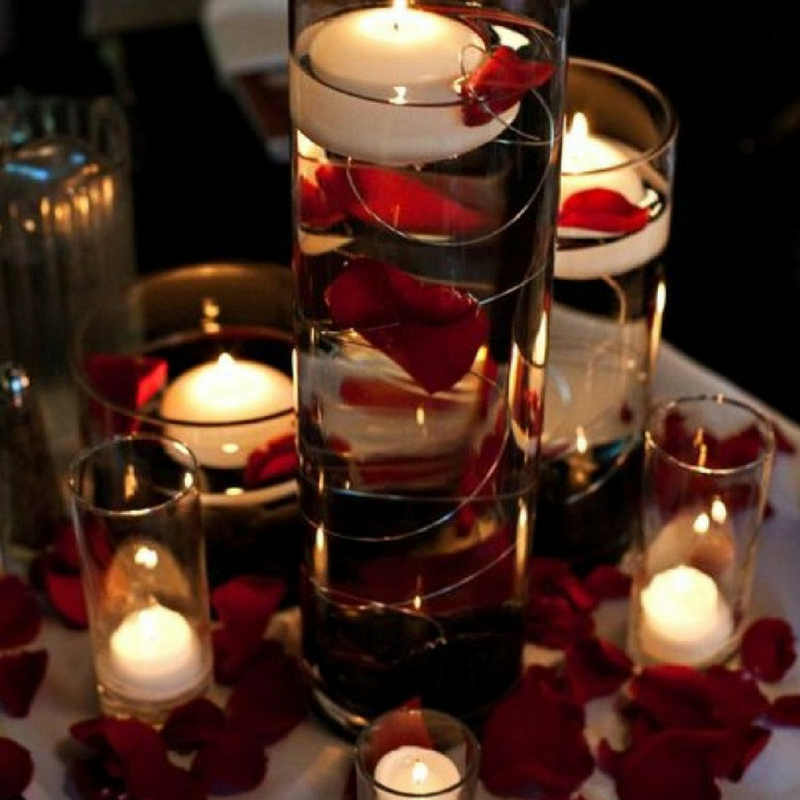
Candle and rose petal centerpieces Image Credits:Christmas Around The World
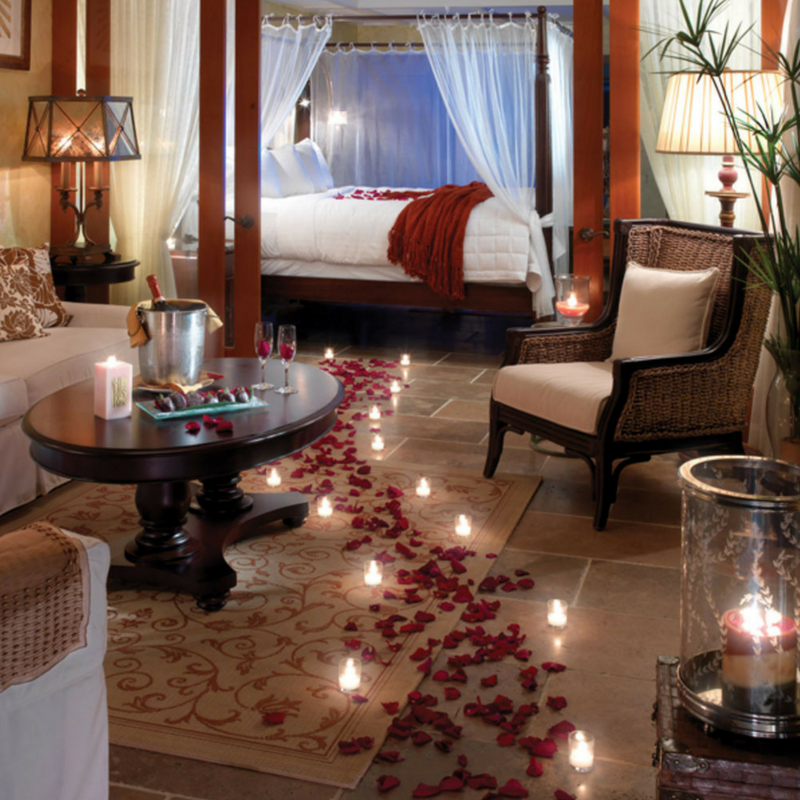
Trail of Red rose petals to a comfy and romantic four poster bed. Image Credits:Florida Travel + Life

Red Rose Petals on the pillows and bed surrounded by candles. Image Credits: Flyboy Naturals
Sure, it may sound corny and like something out of an over-the-top romance novel to be read privately by a pool. But, tried and true, this combination works. From weddings to honeymoons, anniversaries to date nights, candles and roses manage to work their way in somewhere.
But what if we could take this classic scene, add just a touch of whimsy, and create something that changes this spread from “classic courtship” to “unforgettable romance”?
Imagine, instead of roses and candles in the same room, roses and candles intertwined to make a budget-friendly, creative decor for a romantic evening (or wedding, for that matter) with your love.
Presenting: DIY Rose Petal Tea Lights!
Small, battery operated tea lights, with the help of our ideal freeze-dried rose petals, can create a stunning scene. Follow these simple steps to turn your evening into a spectacular vision.
DIY Flameless Rose Petal Tea Lights
You Will Need…
●Flyboy Naturals Rose Petals*
●Flame less Tea Lights***
●Plastic Spoons (7-8 per tea light)
●Hot glue and glue gun
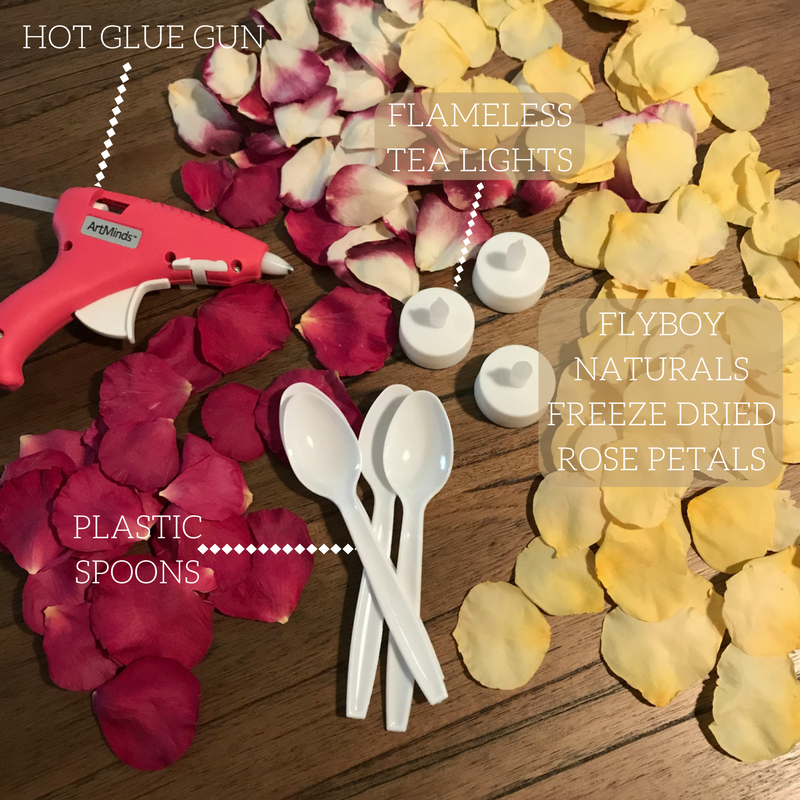
*Any color will work for this project, though lighter colors allow the light to radiate out the best, dark petals will block too much of the light, in our experimentation our soft yellow Graham Thomas Rose Petals gave us the best results! Avoid blends, as you’re trying to create the illusion of a single rose bud.
***These are easy to find at most craft stores or on Amazon. Make sure they are LED lights, as some flame less tea lights get too hot for this project. Consider using multicolored lights to create an interesting, dynamic scene!
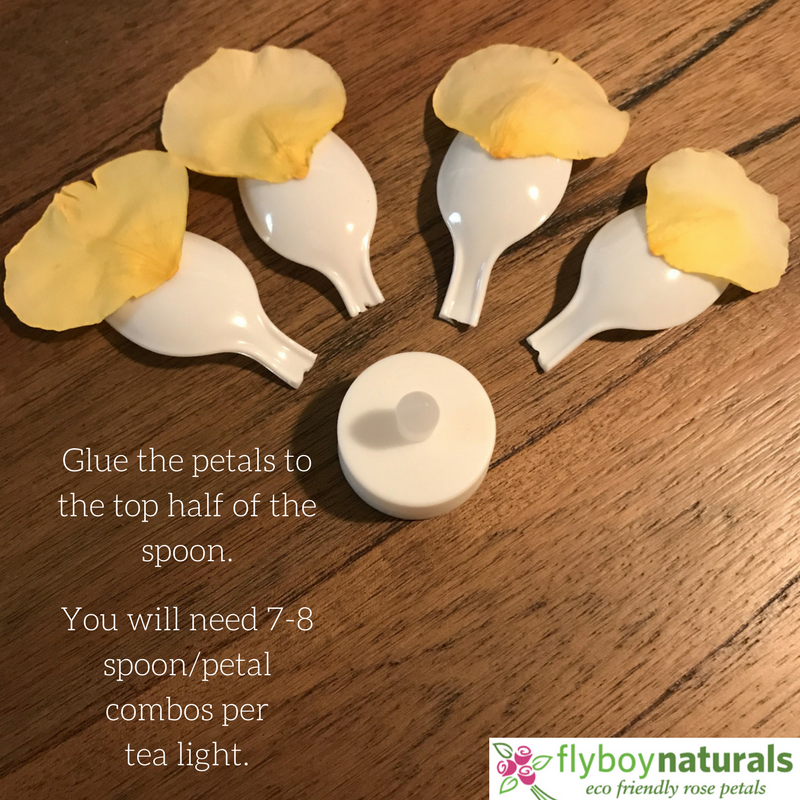
1.Take out 7-8 plastic spoons. Then, gently break or cut of the heads of the spoons from the handles. You want about a quarter in of the the handle to remain.
2. Open up the rose petals, and choose a single one. Using your hot glue gun, glue the petal directly to the back of the spoon about half way up the spoon. This will give the petals some form, but also provide plenty of petal above the spoon to cover the plastic from view. Be careful not to use too much glue. A few drops at the base is fine!
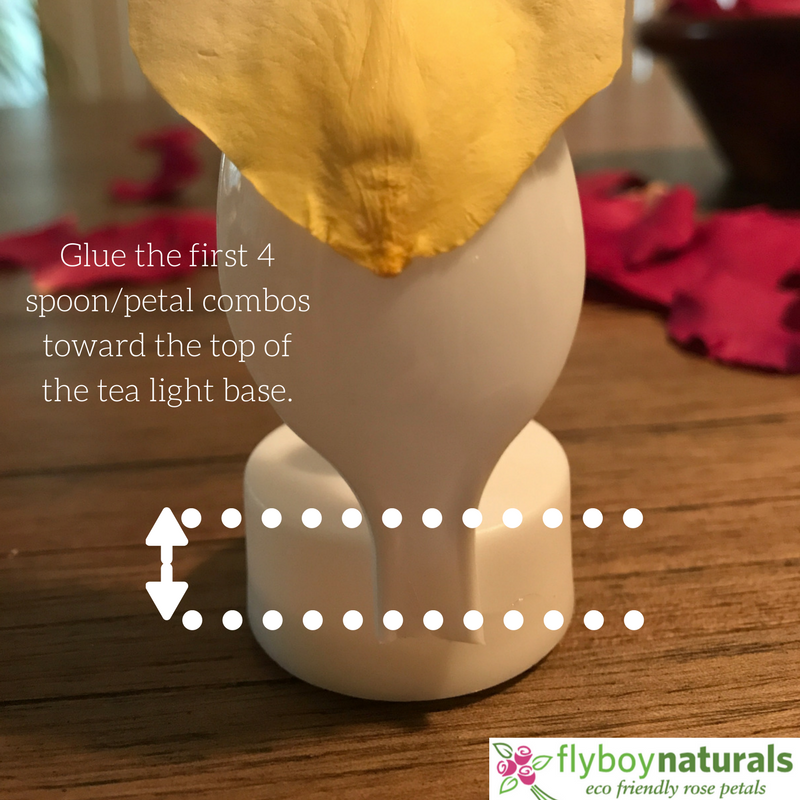
3. Glue the first 4 spoon|petal combos to the top half of the tea light. Look at the tea light, and mentally divide it in quarters, gluing one spoon|petal combo per quarter. The petals should be closest to you (outside of the tealight), with the spoons on the inside of the tea light. Don not be afraid to overlap the spoons and petals. This will help your "rosebud" look more realistic.
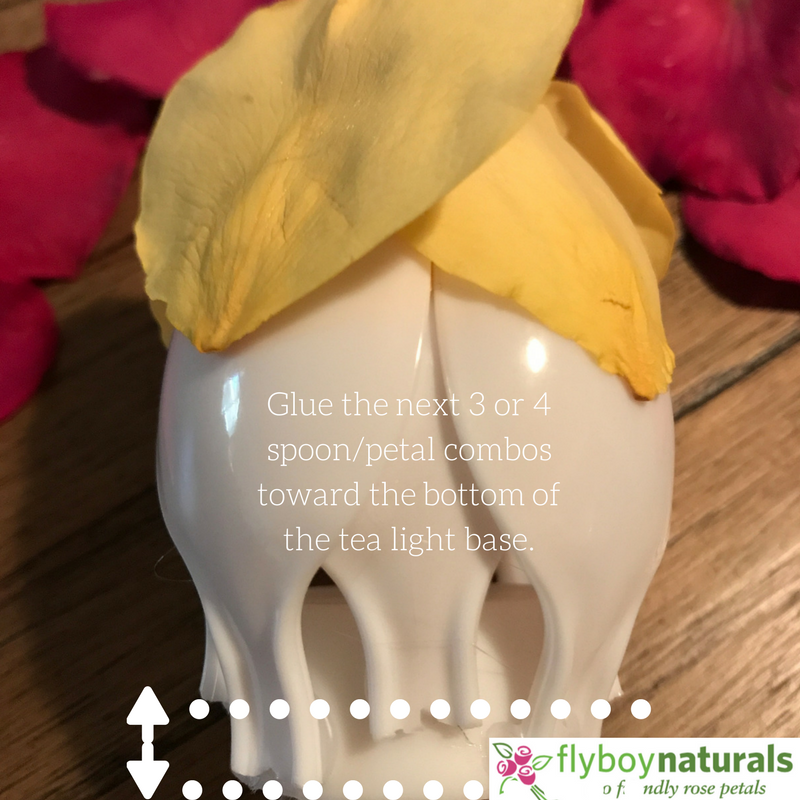
4. Repeat with the remaining 3 or 4 spoon|petal combos, gluing this set to the bottom half of the tea light. Try to place the spoons so that they fill in any obvious gaps between the previous layer of petals. Again, overlapping is encouraged!
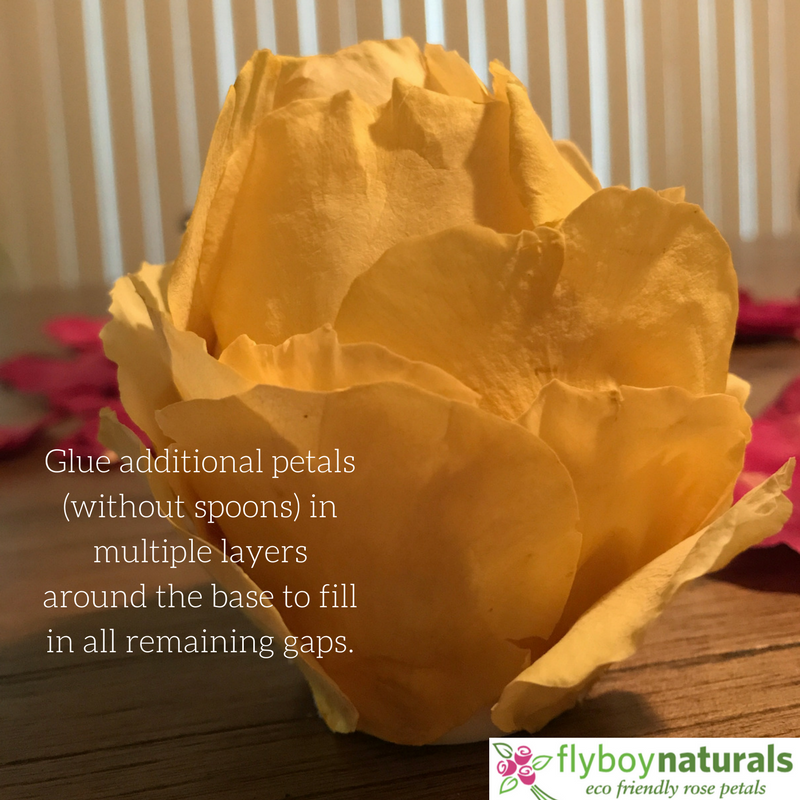
5. Finally, add in additional layers of overlapping petals (without the spoons this time) at the very bottom of the tea light, where parts of spoons can still be seen. We did at least 2-3 layers per tea light at this stage. This will create the full rose bud, as well as some gorgeous texture!
TIP: For the most natural looking rose bud, start with smaller inner petals on your and fill in these final layers with larger outer petals.
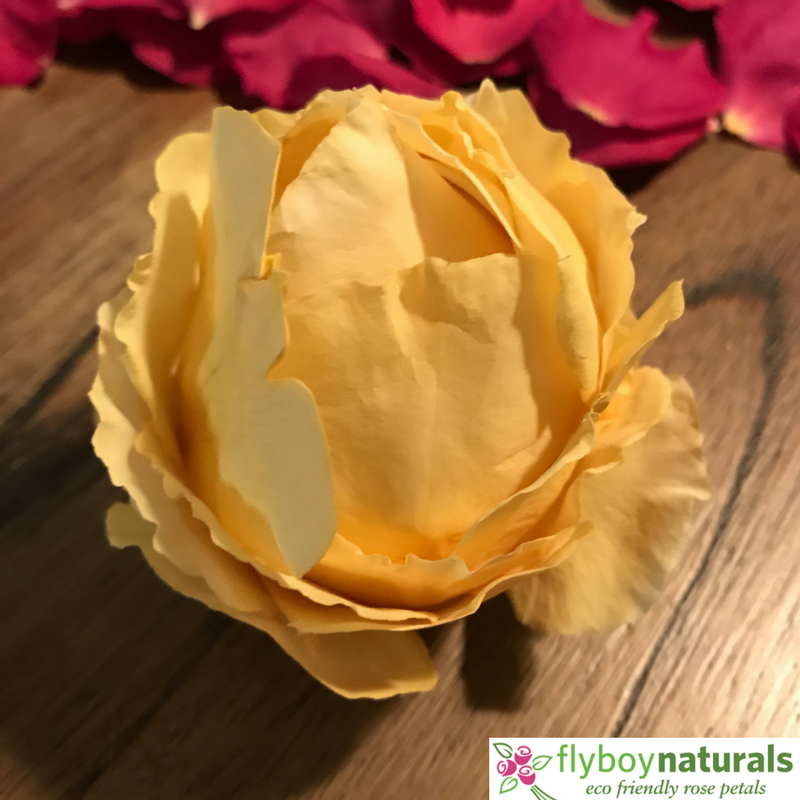
6.Wipe off any stray glue around the rose bud, and allow to fully dry.
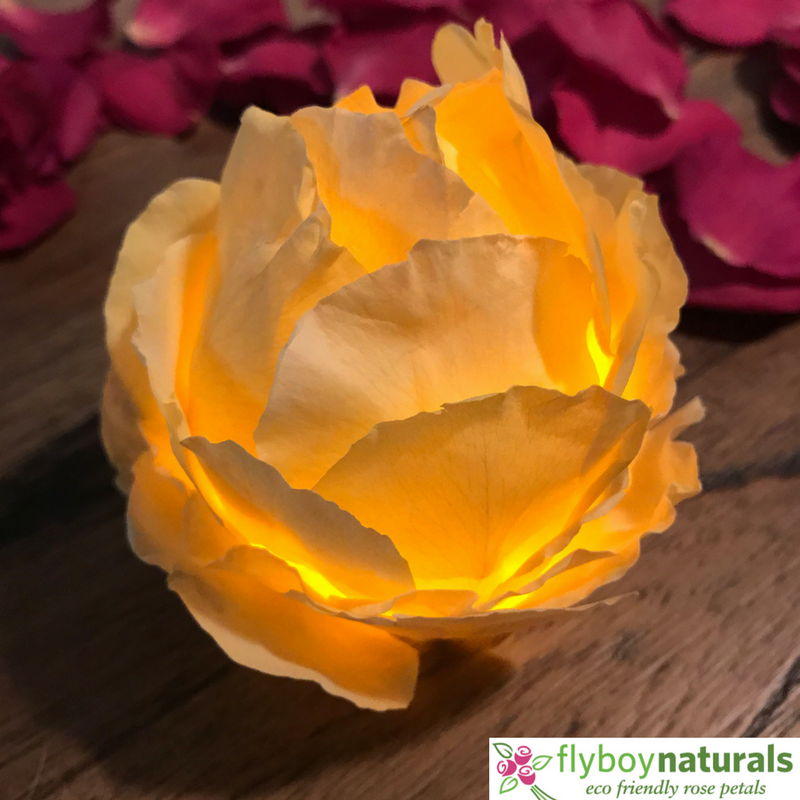
7.Turn on at night, and be amazed by the incredible colors as the light bleeds through the rose petals!
Whether for a wedding or a romantic affair alone with your lover, these tea lights create a scene that is both unique, and idyllic. Even as just an accent among a room of other candles and rose petals, the dramatic colors and exotic appearance will help make one incredible night to remember.
Posted by Text: Sarah Johnson | Tutorial & Photos: Faryn Kapala | Flyboy Naturals on 4th Aug 2017