
DIY Fresh Greens Garland | Flyboy Naturals
DIY Fresh Greens Garland
The countdown to Christmas is on... Are you ready? I am not, but I did get into the spirit this weekend by making a Fresh Greens Garland and today I am going to show you how you can make one too! It's a great way to decorate your home for the Holidays and would look perfect on a mantle or on your dinner table!
DIY Fresh Greens Garland
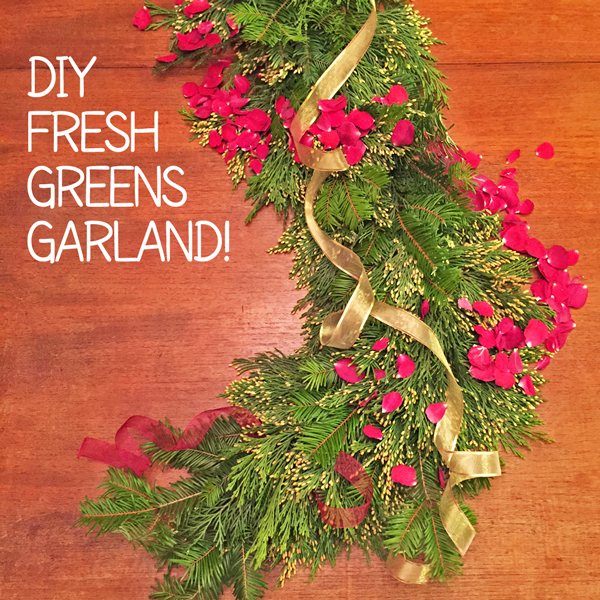
I created this Garland using the Holiday Decorating Set from Flyboy Naturals, which includes a fragrant mix of fresh cut incense cedar and grand fir greens along with festive freeze dried rose petals, perfect for a pop of color!
The box smelled so amazing when it arrived, even my cat was intrigued!
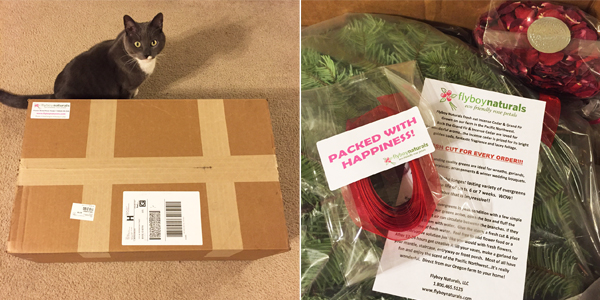
It is obvious Jami takes great care and pride in their packaging... Everything was Packed with Happiness! :)
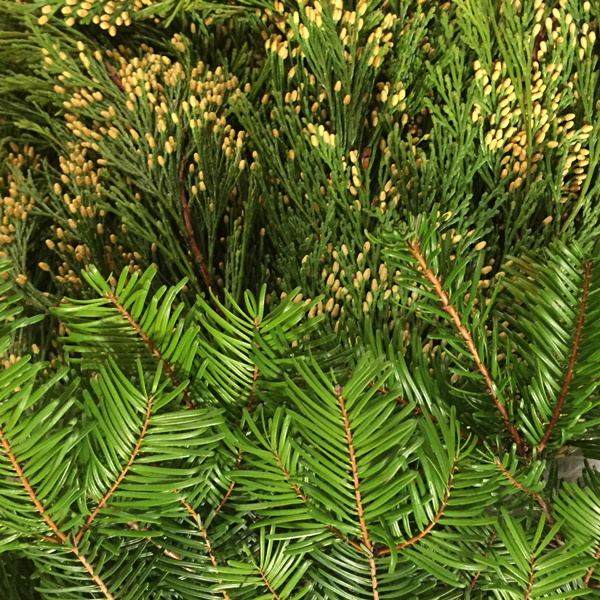
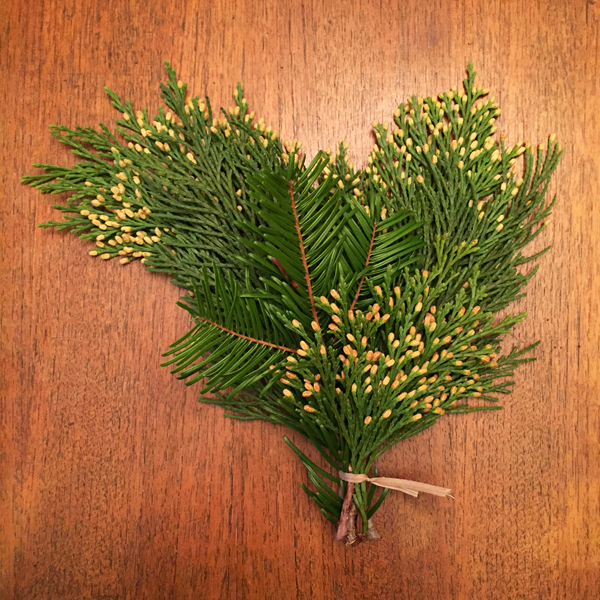
And look at how amazing these Fresh Greens look... and let me tell you again, they smell incredible!!
The reason the are soooo fresh is they custom cut every order the same day as shipping it to you. Did you know
Flyboy Naturals grows all of the holiday greens and the rose petals right on their family farm in Oregon? Pretty cool!
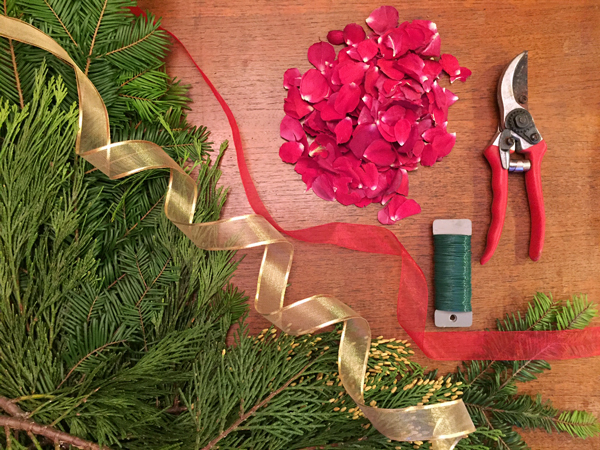
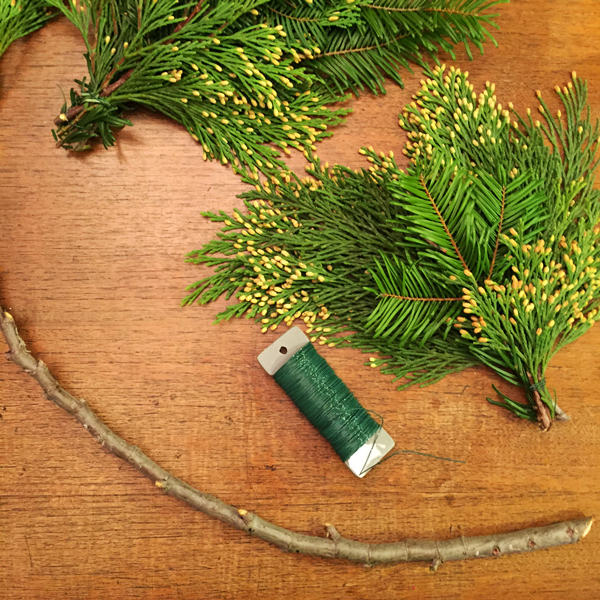
Let's get started on the Garland! In addition to the Holiday Decorating Set, you will need a pair of sharp shears or scissors, floral wire, and any extras you may want for decorating such as ribbon or candles.
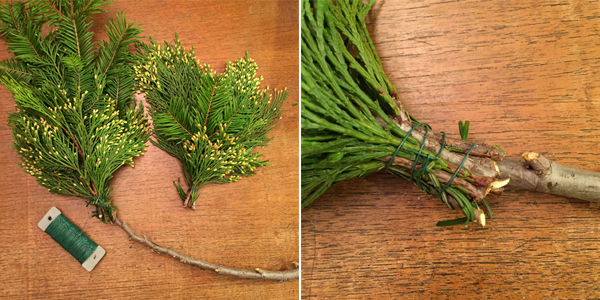
Step One: Take your shears and start cutting all the lateral branches off the main stem of the greens. They will be different sizes so I separated them into piles of big, medium and small to stay organized. Place the main branches off to the side, as these will become your base.
Step Two: With these clippings, start creating bundles of greens. I would usually start with one or two of the bigger stems, then grab a few mediums and finish with a few small stems to create these bundles (shown below). Secure each bundle with floral wire. Most of my bundles consisted of 6-8 stems and I used about 20 bundles to make a four-foot garland.
Secure Bundles with Wire

Step Three: Once you have all your bundles created, you can create the base of your garland. I like doing it this way because it gives you something to secure everything onto and acts as sort of a guide. I took a couple of the big branches I was left with after cutting all the lateral branches off. I chose a few that were curved so I could create a winding garland down the middle of our table, but you could pick a few that are straighter too. I attached the branches together to create one winding stem that was the length of my table.
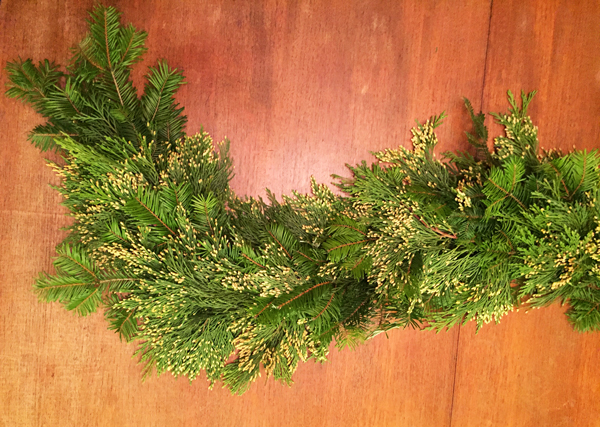
Step Four: Now it's time to attach your bundles to your base! Start at one end and attach one of your bundles to the base with floral wire, continue this process slightly overlapping each bundle. Some bundles I attached off to the side of my base...I just did what felt right and made the garland look full and lush!
Step Four - Secure Bundles to Base
Continue until you reach the end! Fresh Greens Garland Finished
Step Five: Decorate! Add Ribbon, Petals, and Candles…Anything you want to make it even more festive!
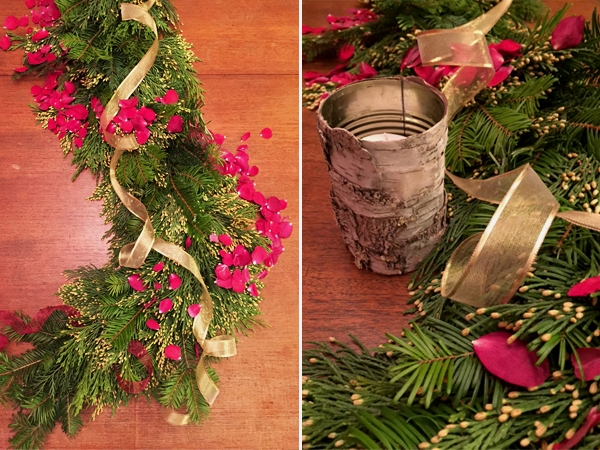
I am so happy with how it turned out; it makes my table so festive! Ready to make one of your own? Head to Flyboy Naturals to check out their Holiday Decorating Set, filled with Fresh Greens and Freeze Dried Petals!
Posted by Marina Megens | Flyboy Naturals on 14th Dec 2015